
New Project Alert: The Lazy Susan!
Hey fusing fans! Bridget here to show you a fabulous new project that’s headed your way. Join us on Saturday, February 1st from 11am-5pm for our name change celebration and to see this big beautiful project in action. This is a fantastic family project with plenty of space for everyone to be creative.
A Lazy Susan, for the younger generation, is a large circular decorative piece that sits in the center of your kitchen or dining room table. On the bottom, it has a rotating disc which allows the glass setting on top to spin. This lets you pass the ketchup to someone sitting on the other side of your circular table easily. You may have seen a larger version of these at your local dim sum restaurant.

First, I gather up my supplies. This project requires a 15 inch glass circle as my starting “canvas.” As with all of our projects, my options are black, white, and clear to start. I’m going to choose white because it will match my dishes, but the choice is up to you. Clear is a popular choice because we can decorate both sides, adding dimension and depth to our artwork, and opaque glass on black canvas yields stunning and bold results. It all depends on what you are looking for as an end result. We are happy to discuss your options and help you decide what best suits your needs.

Next, I’m going to very carefully measure my decorative glass. The design I am envisioning, requires that I make very precise cuts, almost like a puzzle. If my initial cuts are slanted or irregular, I will have a much harder time assembling my artwork. In glass art we live by the rule “Measure twice, cut once.” You can see that I’m using a Sharpie marker to note my measurements. Sharpies are a super useful tool for us as the ink burns off during the firing process, allowing us to make visible marks that will disappear in the final product.

Next I’d like to bring attention to the glass that I’m using. This is from the Bullseye Glass Streaky collection. Streaky glass is hand rolled and because of this no two streaky sheets are exactly alike. It may appear as though I’m using two very similar blues in this project, but in reality I am hoping for two very different effects post firing. As you can see in the picture above, this about 80% opaque. I can see my index finger through it around that light blue part but not through the rest of it. This is because the blues are mixed with white in this sheet to create the streaky effect. I am hoping that this glass will create sort of an outlined look when it fires, but I’m relying on my previous experience with this glass in this decision. If you ever have any questions on how something will look after it’s been put through the kiln, we are happy to offer our opinions and can usually find you an example somewhere around in the studio for you to examine.
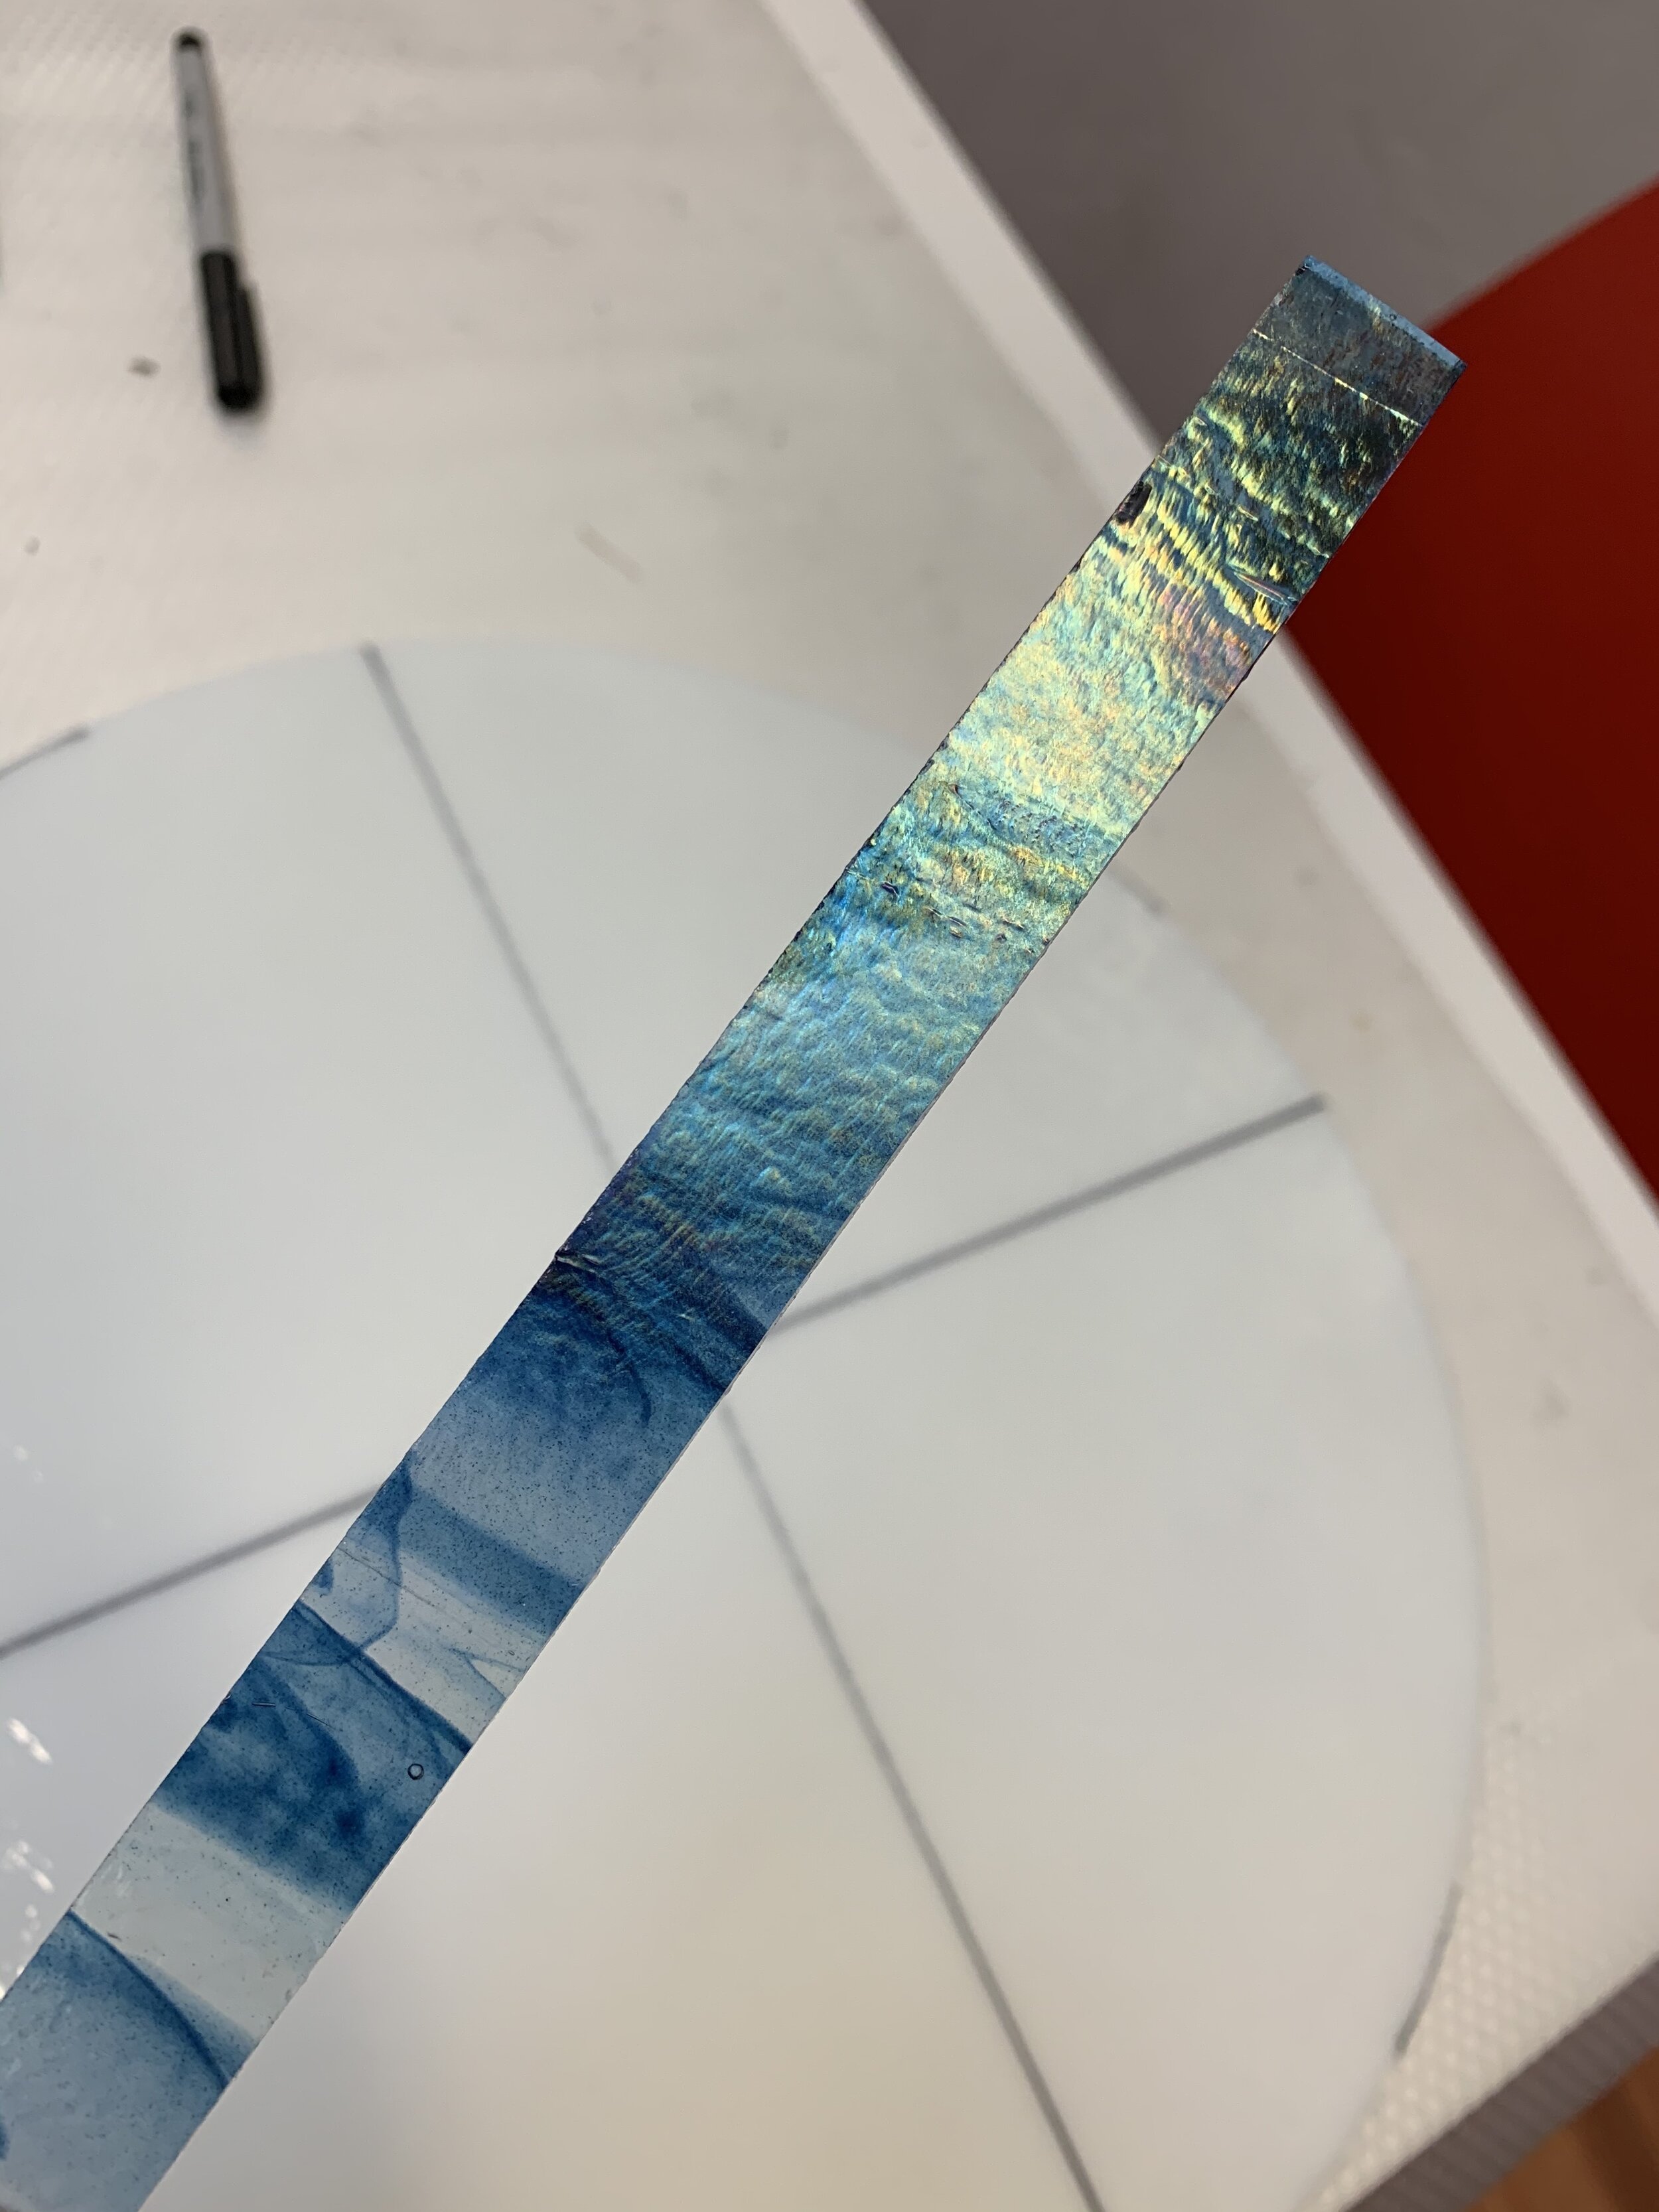
Now, compare the previous blue to this one. You may not have noticed it earlier, but this blue has been mixed with clear as opposed to white in the first example. This makes the glass much more translucent and even totally clear in some places. But, also notice what I will refer to as the “back” of the glass. It has a thin iridized film on it giving it a rainbow sheen or an oil slick look. This is going to create a subtle sparkle to these blue strips. I said that I will consider this the “back” of the glass because for this project I am going to be sure to lay all my pieces with the iridized side facing down. This is essentially a form of what we call “capping,” but depending on the result you’re looking for, you could have the iridized facing up as well. This will create more of a pearlescent and somewhat matte finish, which is beautiful, just not what I’m going for today.

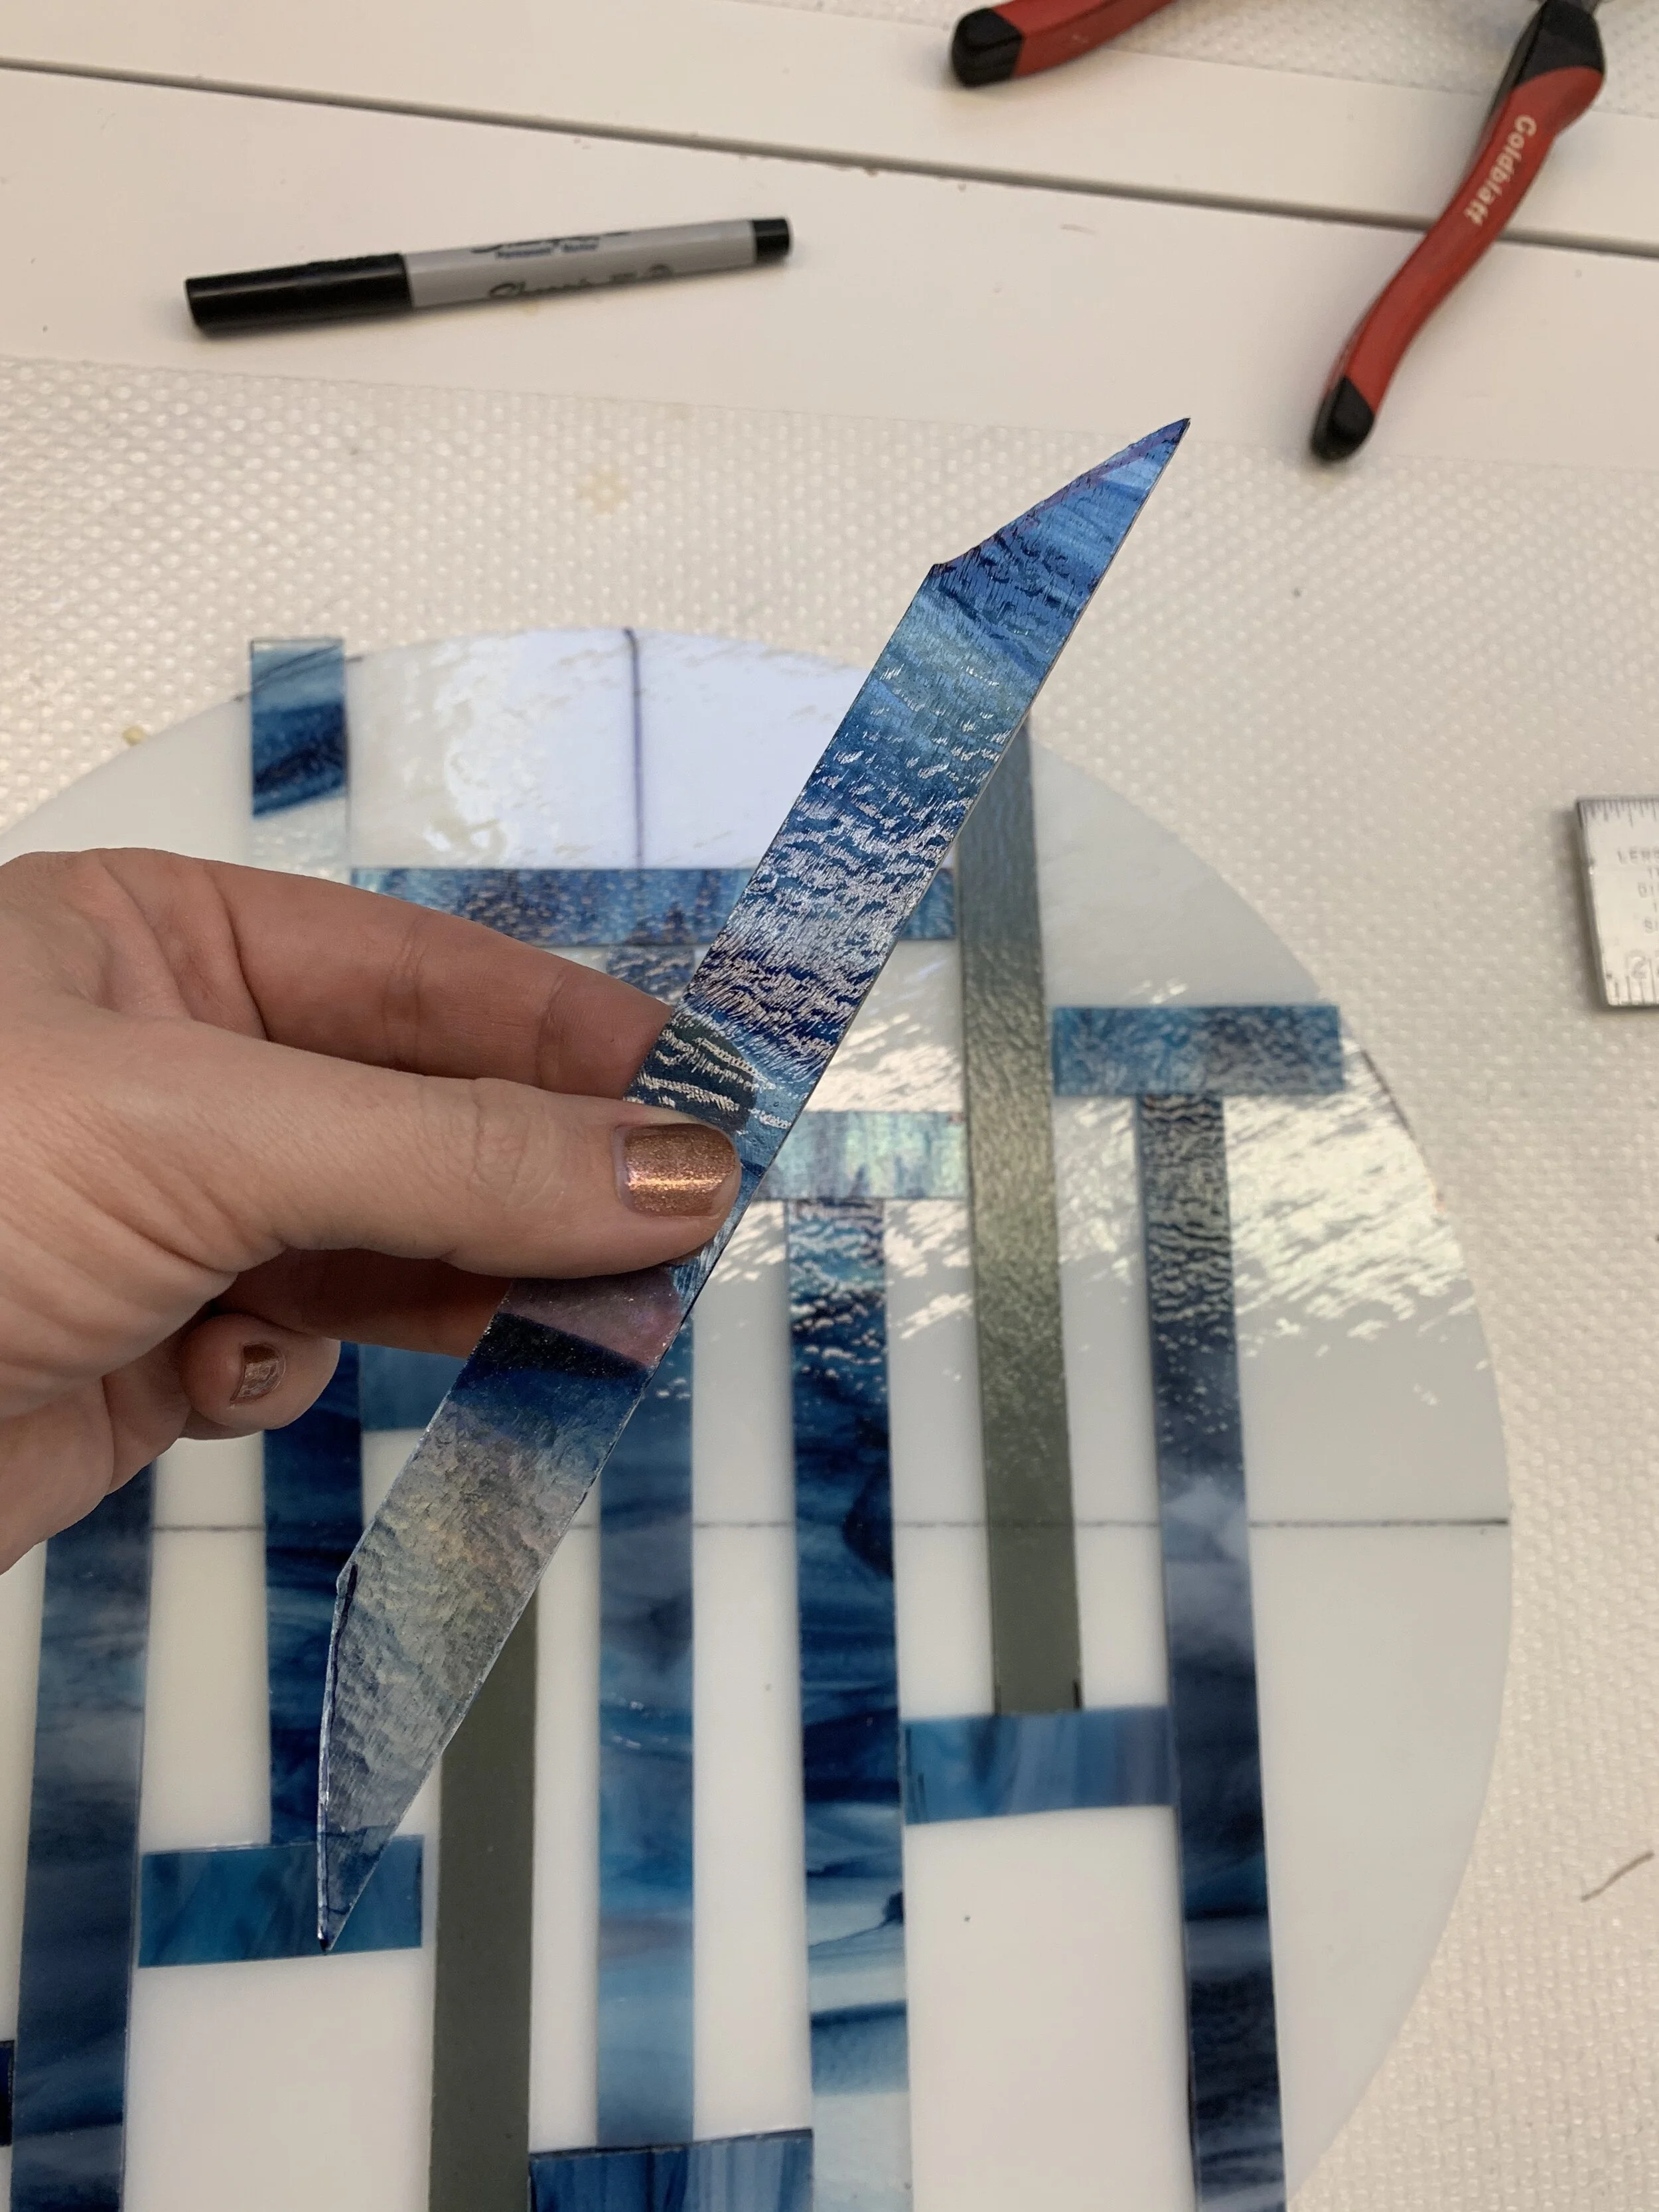
Alright, I’ve used by trusty pistol-grip scorer and my favorite breaker to make three-quarter inch strips. Lazy Susans are meant to spin on a table, so my design is not going to have a clear top or bottom; I want to be able to enjoy it from any angle. So I am going to try to keep my negative space evenly distributed across the four quadrants of my circle. Art comes very naturally to some but a lot of us need to plan ahead, so I am going to play around with my design before I glue it down in place.

Ok, I’m pretty happy with that! But i’ve got some bits hanging off the edge so, I’m going to carefully, trim those with my nippers. Nippers are a great tool for making small cuts and shaping your glass. They will be perfect to use for the edges of these overhangs.
I’ve used my sharpie marker and nippers to shape my edges. Again, I need to be pretty precise here since this will need to fit together like a puzzle at the end. Take your time, there’s no need to rush!

Ta-da! I take one last look to make sure all my lines are straight and all quadrants have the same amount of negative space. It may be hard to tell now, but I tried my best to make the opaque blues and the translucent blues spread out and even as well. What fun I had creating it! Now comes the hardest part….the waiting! This project is 15 inches in diameter so I can safely say it will be fired in the kiln on a super slow firing schedule to allow for proper uniform heating. The bigger the project, the more slowly we cook it, so it has more time to heat up evenly. Then, we must wait for it to cool back down to nearly room temperature before we can open the kiln, and as you can imagine, the larger the piece, the more it holds heat and the more careful we want to be about cooling it. Glass art can be a trial in patience, but the results are well worth the wait.
I hope you enjoyed this introduction to the new Lazy Susan project now available. And if you’d like to see the finished product in action, please join us on Saturday, February 1st from 11-5 to celebrate our brand new name change! We’re very excited about what 2020 will bring, and we look forward to seeing you for more fusing fun!